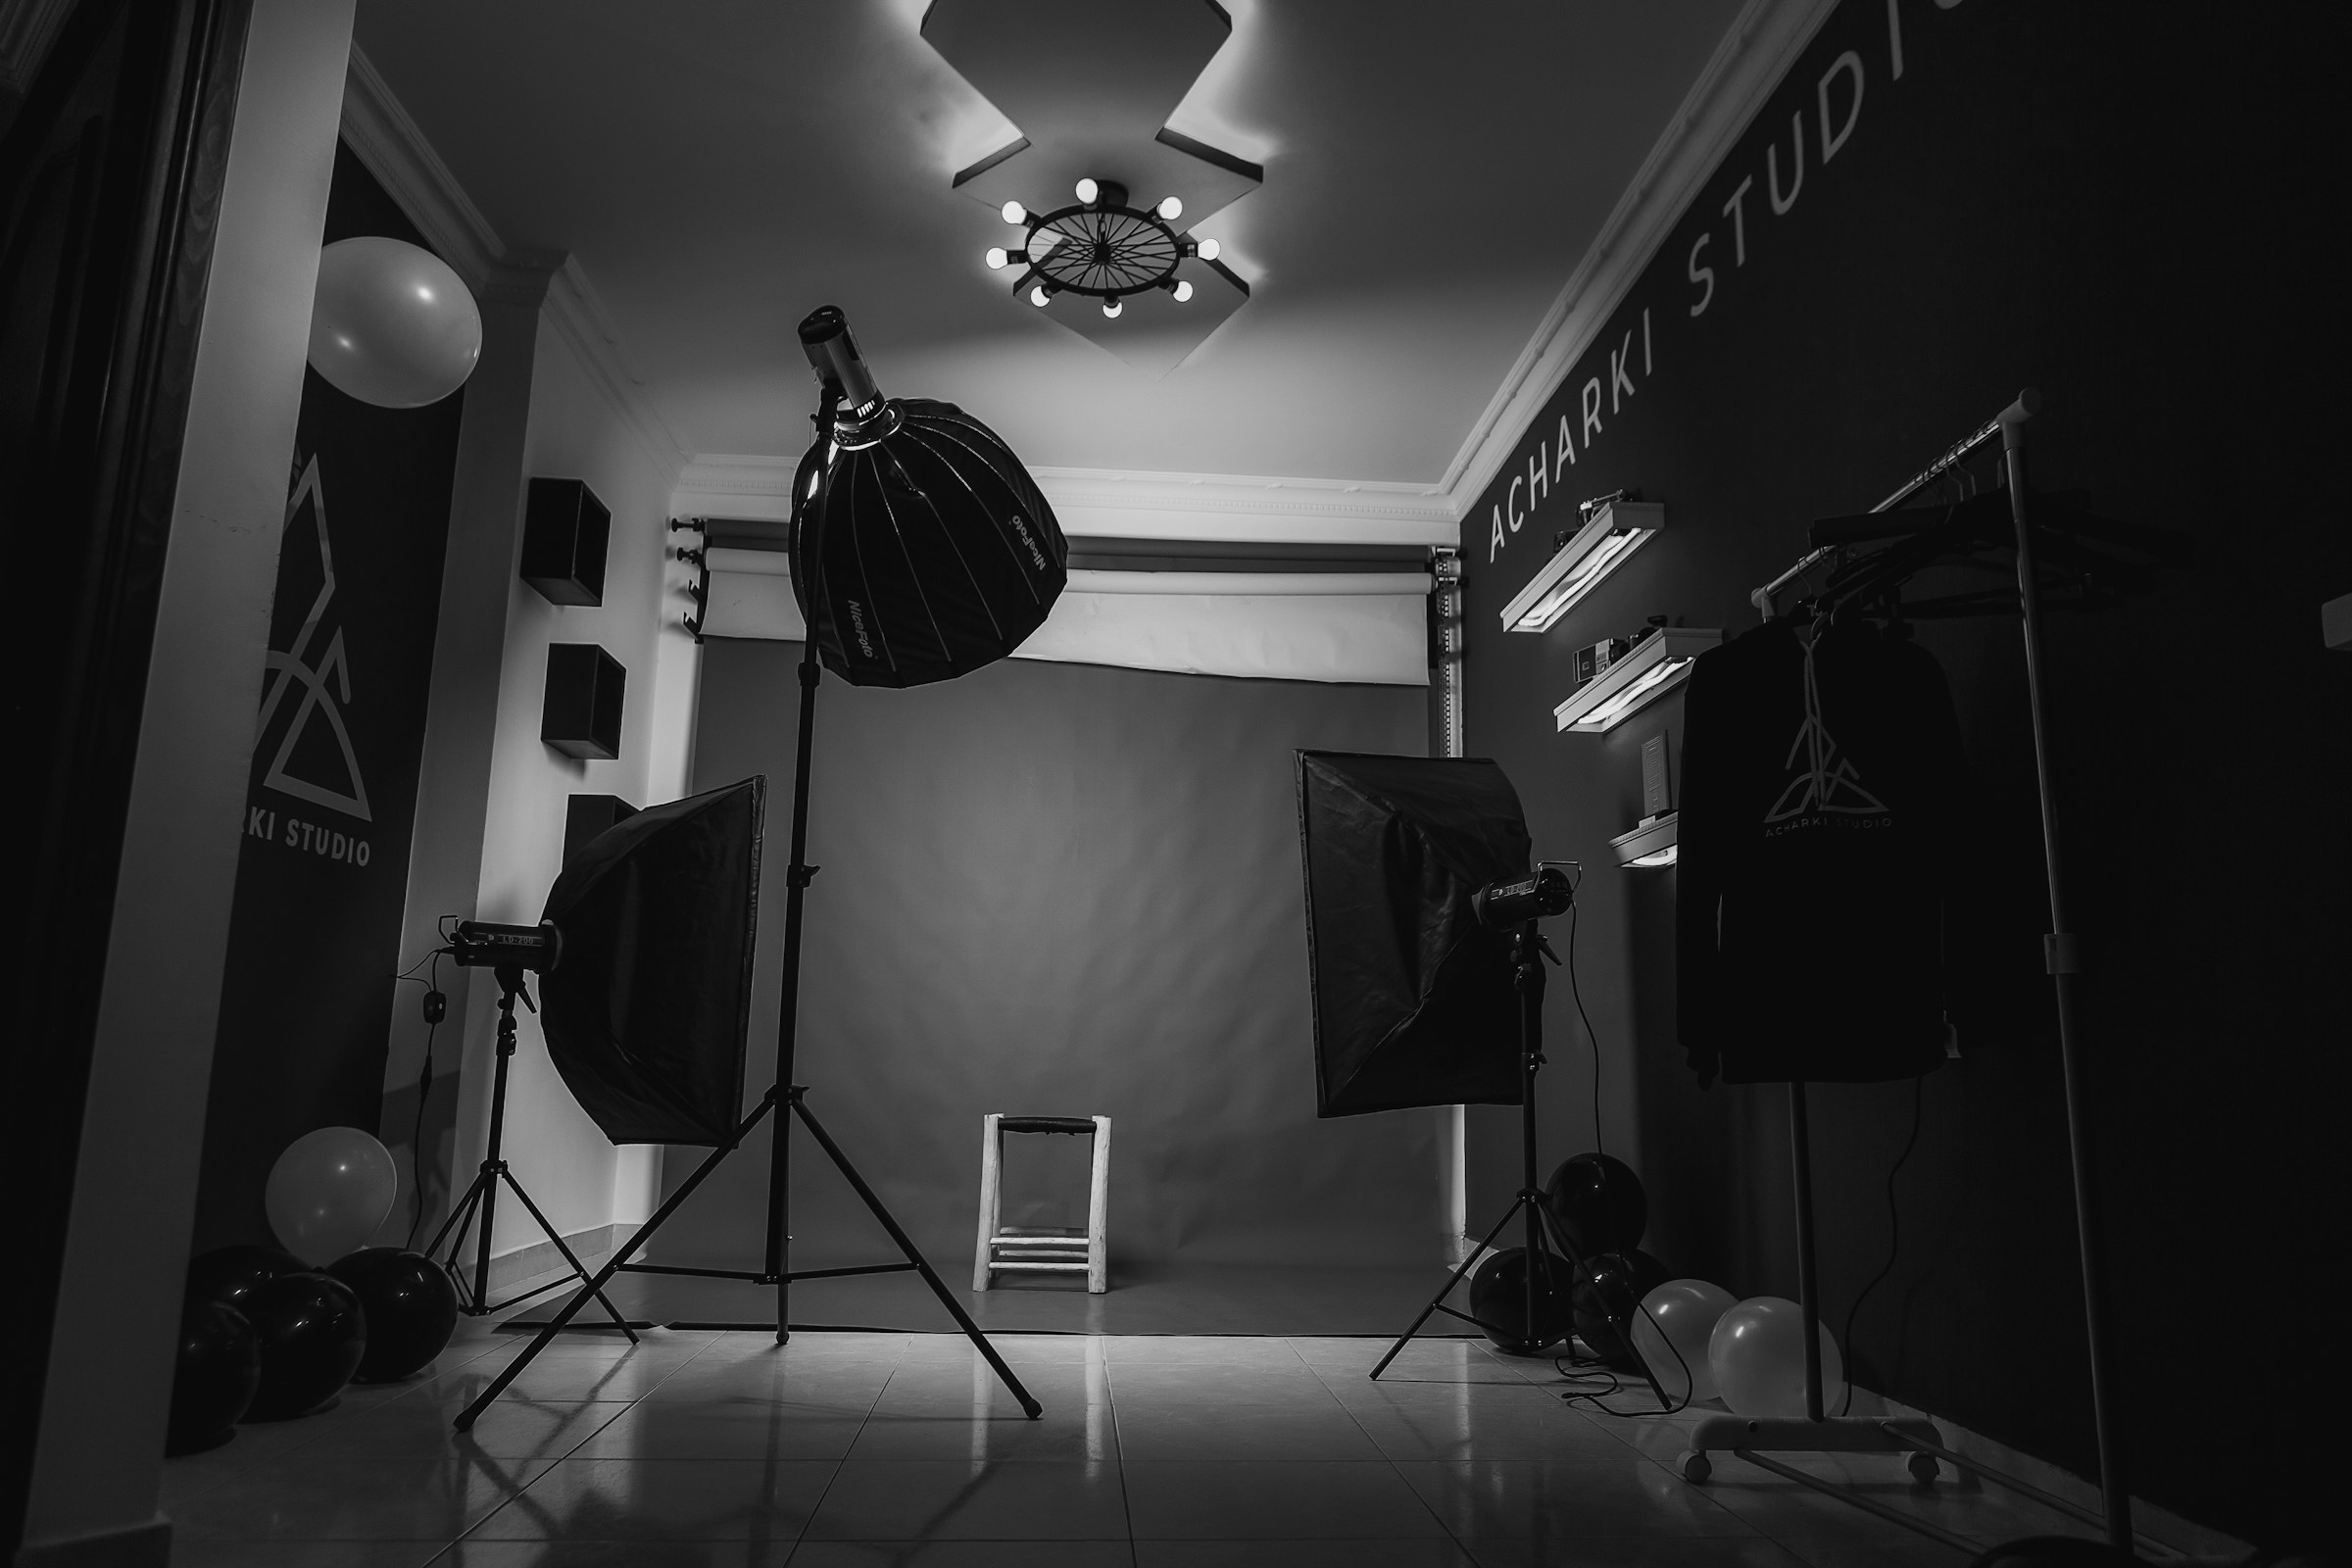
Jan 21, 2025
A Simple Guide To DIY Product Photography Setup
Good eCommerce photography is key to eCommerce success. After all, when customers can't physically interact with a product, images become their proxy. So, it's no surprise that eCommerce photography can make or break a sale. If you struggle to take quality product photos, you're not alone. You can’t capture the right angle. Or your images are dark and uninviting. No matter the challenge, this blog can help. Here, we'll explore DIY product photography setups to help you create an effective eCommerce strategy. With a few simple tools and techniques, you can get the quality product photos your shop deserves.
Before exploring DIY product photography setups, let me introduce you to a solution that can help you take beautiful product images quickly. Caspa is an AI product photography platform that can help you streamline your eCommerce photography process. With Caspa, you can create a product photography setup that enables you to take stunning product photos and reduces time and effort.
Table of Contents
Why Product Photography Is an Essential Element Of Your Brand
5 DIY Product Photography Setup Tips To Smash Your Product Photos
Get AI Product Photos that Increase Your Sales for Free Today
What is Product Photography?

Product photography is the art and science of capturing visually stunning images of products that look great and tell a story. Whether you’re snapping shots of a sleek pair of shoes, a mouthwatering cupcake, or the latest tech gadget, the goal is to present the product in its best light—literally and figuratively. These images play a crucial role in e-commerce, social media, advertisements, and other marketing efforts by enticing customers and driving sales. Let’s explore the essence of product photography and why it matters.
Why Product Photography is Essential
Imagine shopping online for a product. What convinces you to click “Buy Now”? Most likely, it’s the images. High-quality product photography gives customers a clear view of their purchasing, helping them visualize its features, benefits, and potential uses. Great photos build:
Trust
Reduce returns
Set you apart in a crowded marketplace
Simply put, product photography isn’t just about taking pictures—it’s about creating an experience that resonates with your audience.
Elevate Your Online Store: The Art of Effective DIY Product Photography
Product photography isn’t just about taking pictures—it’s about connecting your product with your customer. From mastering lighting to choosing the right background, every detail matters. Whether you’re a small business owner looking to elevate your online presence or a hobbyist exploring a creative outlet, investing time in product photography is always worth it. After all, a picture is worth a thousand words—but in the world of e-commerce, it might just be worth a thousand sales!
Why Product Photography Is an Essential Element Of Your Brand

Impressions Matter: Product Photography Offers Your Brand a Competitive Edge
Your product images are often the first interaction customers have with your brand. A high-quality, professional photo immediately signals that your products—and, by extension, your business—are trustworthy and of high quality. The better the presentation, the more likely customers perceive your brand as credible and premium.
Build a Brand, Not Just a Business
Think of iconic brands like Apple or Nike. Their product photography isn’t just about the product but the feeling, vibe, and lifestyle their brand represents. Investing in professional images that reflect your style and values can help you create a cohesive brand identity. High-quality photos and thoughtful design elements like logos or banners strengthen brand recognition and loyalty.
Great Product Photography Drives Sales Like Nothing Else
Let’s be honest—great photos sell. When your product photography captures attention and showcases every detail, customers are likelier to click “Add to Cart.” High-quality images highlight your product’s features and make customers confident about their purchase. The better the visuals, the higher the chances of converting browsers into buyers.
Build Trust and Credibility With Professional Product Photography
In the crowded e-commerce world, trust is everything. Customers are naturally skeptical, especially if your brand is new. Professional photos reassure shoppers that your products are genuine and that your business is legitimate. Websites with polished, accurate images feel more inviting and reliable, giving you an edge over competitors who might cut corners on visuals.
Product Photography Reduces Returns and Increases Customer Satisfaction
Imagine ordering a product online, only to find it looks completely different in person. Frustrating, right? Accurate, high-quality photos reduce the likelihood of this happening, which means fewer returns for your business. Plus, when customers receive precisely what they expected, they’re more likely to leave positive reviews and become repeat buyers.
Transform Your Product Photography: AI-Powered Solutions for E-Commerce Success
Caspa helps eCommerce brands create stunning product photography with AI, eliminating the need for multiple tools that traditionally eat up to 20% of revenue like:
Photographers
Models
From creating ultra-realistic product shots with human models to editing existing photos, Caspa's all-in-one AI product photography platform handles everything from background removal to upscaling, letting brands produce professional marketing visuals in seconds. Whether you need custom stock photos or complete studio editing capabilities, Caspa streamlines the entire product visualization workflow into a single, cost-effective solution. Get AI product photos that increase your sales for free today!
Related Reading
• How to Take the Best Product Photos
• How to Edit Product Photos
• Midjourney Product Photography
• Ecommerce Product Photos
Essential Elements For DIY Product Photography Setup
1. The Condition of the Product Itself: Start With a Clean Slate
The first thing to look out for is the product’s condition. It should go without saying, but blemishes, dents, scratches, and other imperfections should be avoided. We always communicate this with our clients: products they want us to shoot should be as close to as possible. That’s not to say that problems can’t be fixed in post. Every photo that makes its way to the client goes through processing, but it takes time to make corrections look natural, and you know how that saying goes. Using pristine products for the shoot saves you time money, and results in better-looking photos. In short, make sure the item being shot is clean, clear, and blemish-free.
2. Lighting and Exposure: Get Bright, Diffused Light
Product photos should be taken with even, diffused lighting to avoid:
Hotspots
Glare
Reflections
It shouldn’t be too obvious where the light is coming from–the product should look as though it’s lit from within. Shadows can be a bit tricky, but in general, less is more. Shadows pull attention away from the product, hide detail, and are an eminent reminder that you’re looking at a picture, which interferes with the illusion of the idealized product.
Mastering Lighting and Shadows for Stunning Product Photography
That said, shadows can create an atmosphere or give products a more realistic and natural feel. The same can be said for lighting. What’s important is that these elements look intentional and suit the atmosphere of the shot. Exposure is a little simpler but follows similar guidelines. Colors should be rich and full rather than washed out, while highlights and shadows should retain detail without clipping. In short, look for even, diffused lighting, minimal, intentional use of shadows, and an exposure that brings life and richness to the product without sacrificing detail.
3. Depth of Field and Distortion: Show Off Your Product’s Details
Depth of field is the range at which objects in the frame are in focus. It's what’s responsible for that pleasing ‘blurry background’ effect you sometimes see in pictures (in that case, a shallow depth of field). It determines what’s sharp and focused and what isn’t. Typically, you want to see crisp detail throughout the product (i.e., the entire thing is within the depth of field), offering customers more excellent information and a more accurate representation of the real-life product.
Achieving Accurate Product Photography: Managing Depth of Field and Avoiding Distortion
In lifestyle or still-life shots, depth of field can intentionally blur whatever is behind and in front of the subject. There should be no product distortion, which can happen due to specific lenses (like a fisheye lens) and the angle of the shot. As much as possible, the image taken should resemble the actual product. The story’s moral: Look for a sharp focus that shows the product in all its glorious detail, keeping unimportant or distracting elements blurred. The product should never be optically distorted but true to life.
4. Framing and Composition: Focus on Your Product
With the product often centered against a white background, framing, and composition are less of a concern for simple studio shots but matter a lot for lifestyle or still-life photography, which incorporate many disparate elements into a single shot. Framing refers to how and where the product sits within the image, while composition refers to how multiple elements within the frame are laid out about one another. In terms of product photography, not only should the picture be pleasingly laid out, causing your eyes to roam over detail naturally, but attention should gravitate toward the focal point of the image: the product itself, the product in use, or the product being associated with the mood and feeling that the picture evokes.
Choosing the Right Background and Composition for Product Photography
In short, for simple studio shots, look for products centered on a white background suitable for highlighting detail and keeping attention on the product. For more creative and contextual lifestyle or still-life shots, the eye should naturally roam until it settles on a focal point that highlights the product.
5. Colors and Post-processing: Aim for Realism
Last but not least, there are colors and post-processing. These are pretty straightforward—the colors should be true to life, primarily a function of lighting and white balance, while post-processing should be minimal and natural.
Balancing Perfection: Enhancing Product Photos Without Misleading Your Customers
Your products should look good, but be careful not to mislead. Too obvious touch-ups might arouse customer suspicion and introduce hesitation to buying. Naturally, products that don't look as good in real life result in more returns. Colors should be rich, vibrant, and true to life. While post-processing is necessary, it shouldn’t make products look unrealistic and artificial.
Related Reading
• Types of Product Photography
• Product Photography Setup
• Product Photography Ideas
• Lifestyle Product Photography
• Product Photography Examples
5 DIY Product Photography Setup Tips To Smash Your Product Photos
1. Prepare the Perfect Props
Props are your secret weapon for creating visually compelling product photos. But before grabbing random items, think strategically: What’s your product? The type of product you’re shooting determines the props you’ll need. For example: Selling beverages? Use fruits that reflect the flavors, resin droplets to mimic freshness, or transparent boards for a crisp, modern touch—selling beauty products?
Using Props to Enhance Product Photography: Matching Themes and Keeping It Simple
Complement them with lifestyle props like sunglasses, pouches, or books for a chic vibe.
What’s the concept of your shoot?
Your campaign theme or season plays a massive role in prop selection: Summer campaign? Think tropical elements like palm leaves, citrus fruits, or coconuts.
Minimalist vibe? Stick with neutral tones and simple shapes.
Fun and bold? Go for oversized, colorful props to grab attention.
Pro Tip: Keep the props relevant to the story you’re telling with your product. Too many props can distract rather than enhance.
2. Choose a Background That Speaks Volumes
Your background is more than just a blank canvas—it sets the tone for your product.
Here’s how to choose wisely:
White Background: This background is perfect for a clean, classic, and minimalist look. It focuses on your product and works wonders for e-commerce platforms.
Colorful Backgrounds: Great for brands with a bold, lively identity. Use colors that match your brand palette to maintain consistency.
Dark Backgrounds: Use darker tones for a luxurious or premium feel. They add drama and elegance to your shots.
Experiment with textures like marble, wood, or fabric to add depth and personality to your product photos.
3. Set Up Your Equipment Like a Pro
You don’t need a studio full of expensive gear to capture stunning product photos.
Here’s what you’ll need:
Camera: A DSLR or mirrorless camera is ideal for flexibility and image quality. But if you’re on a budget, even modern smartphones can produce great results.
Tripod: A stable tripod is essential for sharp, consistent photos, especially when shooting multiple angles.
Charging Gear: Ensure your camera batteries are fully charged, and keep backup batteries on hand to avoid interruptions.
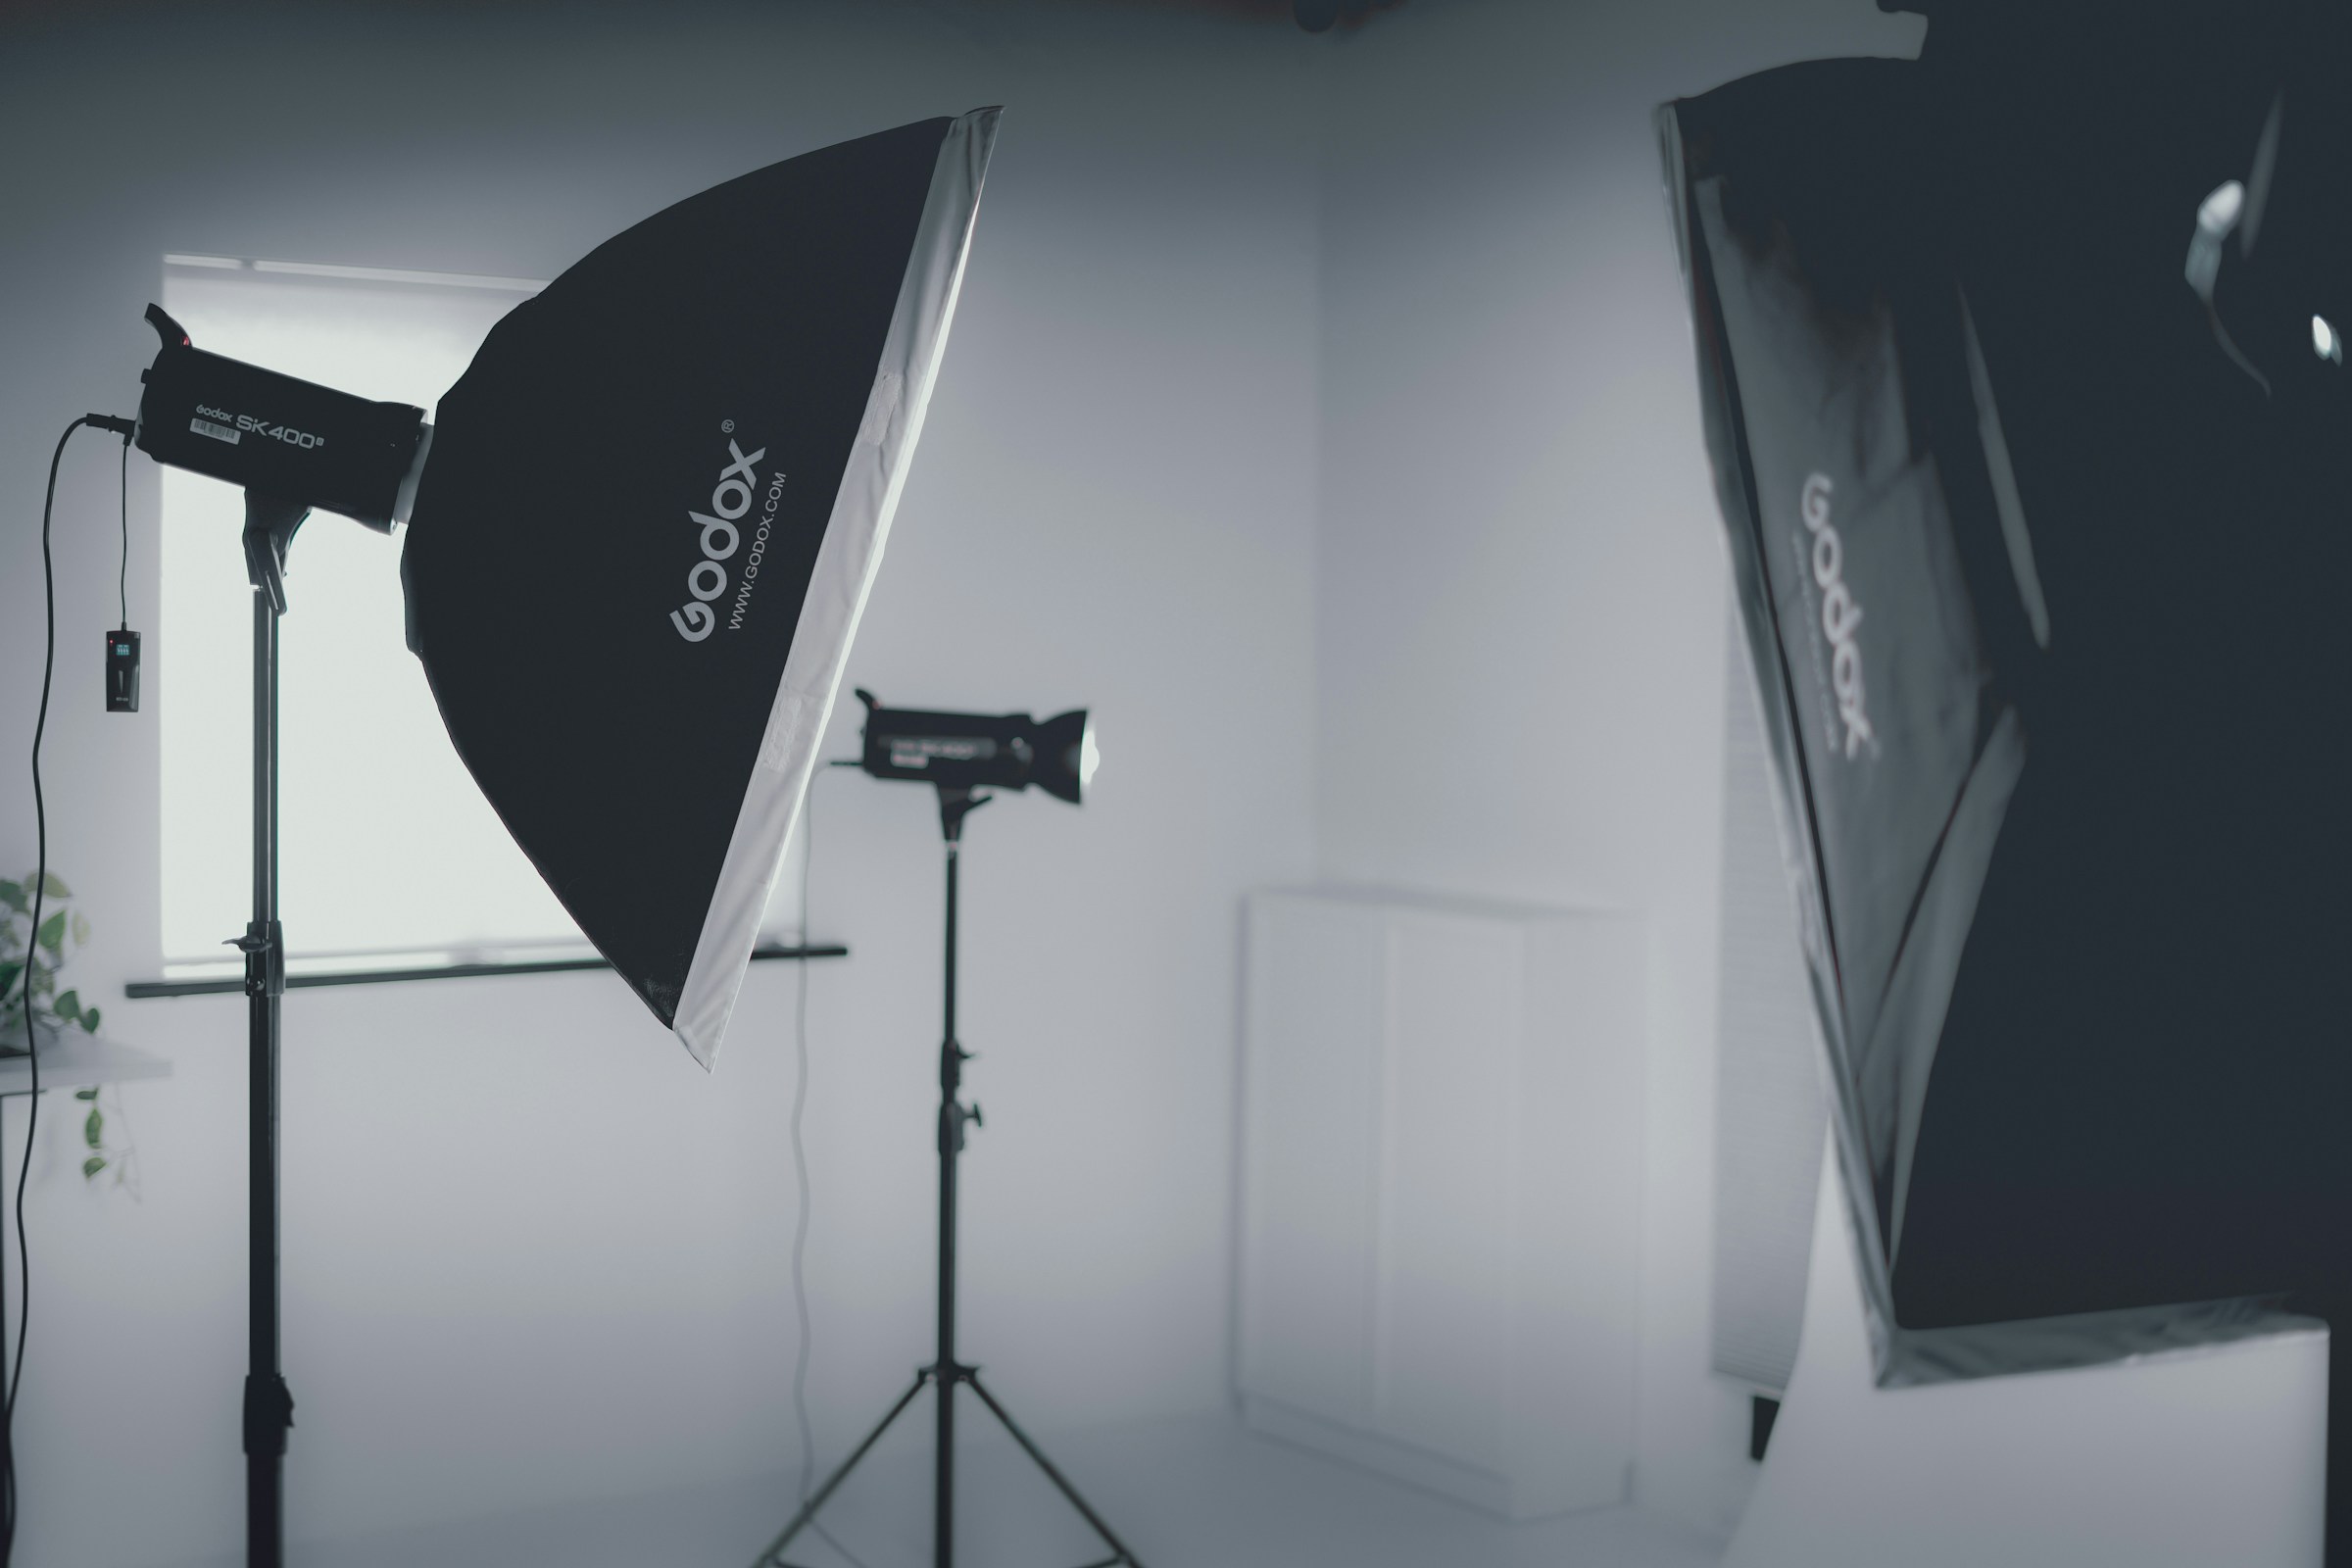
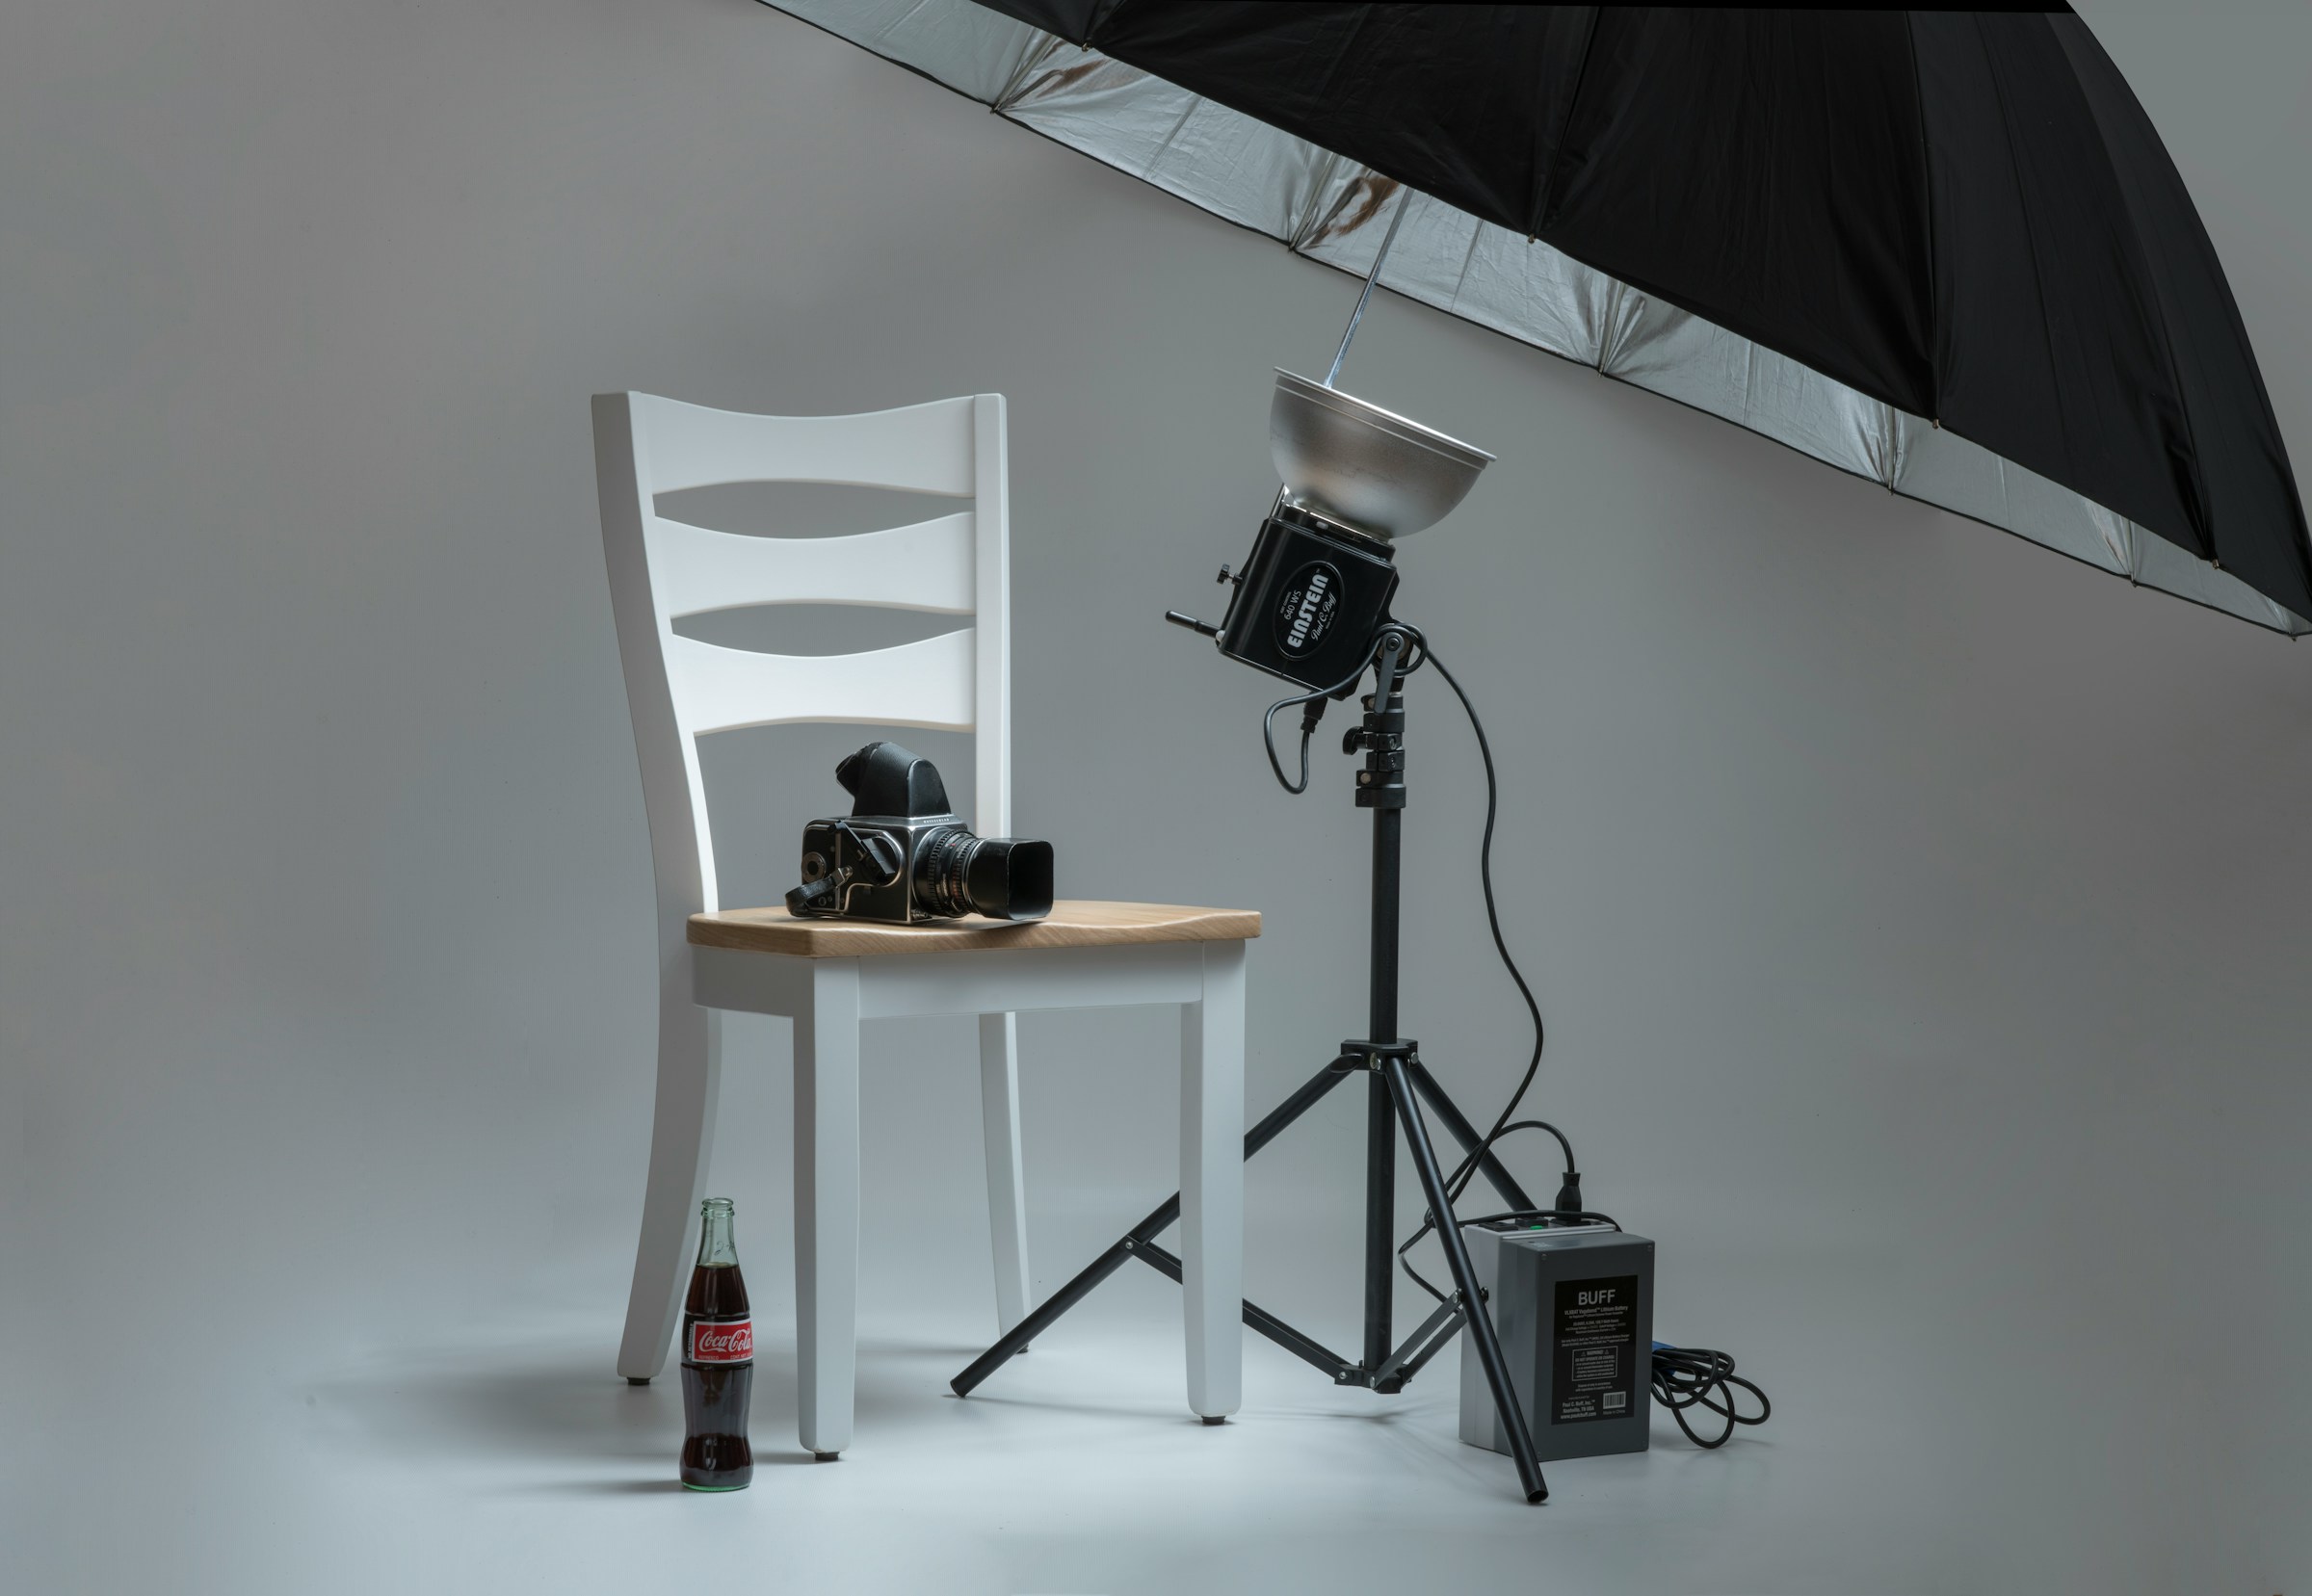
Lighting Equipment: Lighting can transform your photos. Consider softbox lights for diffused, even lighting or natural light for a softer, organic feel.
Pro Tip: DIY light diffusers (like white sheets) or inexpensive LED ring lights can work wonders for those on a budget.
4. Master Your Lighting Game
Lighting is the soul of product photography—it can enhance textures, create mood, and highlight details.
Here are the basics:
Natural Light: Best for products that need a realistic, approachable look, like food or skincare items.
Key Light: Your primary light source that draws attention to the product.
Fill Light: Balances shadows created by the key light, ensuring the product looks even and polished.
Backlight: Adds depth and can create a dramatic or high-end look.
Experiment with angles and light placement to find what highlights your product’s features best.
5. Enhance Your Photos with Editing
Editing is where the magic happens! It’s not about manipulating the truth but refining your photos to look their best:
Tools to Try:
Caspa for AI product photography and editing.
Adobe Lightroom for color adjustments and exposure tweaks.
Adobe Photoshop for detailed touch-ups or background edits.
Luminar AI is used to enhance colors and details quickly.
Key Edits to Focus On:
Brightness and contrast make the product pop.
Cropping to remove distractions and focus on the product.
Color correction to ensure your product looks true to life.
Remember to resize and optimize your photos for different platforms, ensuring they load quickly and look sharp everywhere.
DIY Product Photography Editing Basics
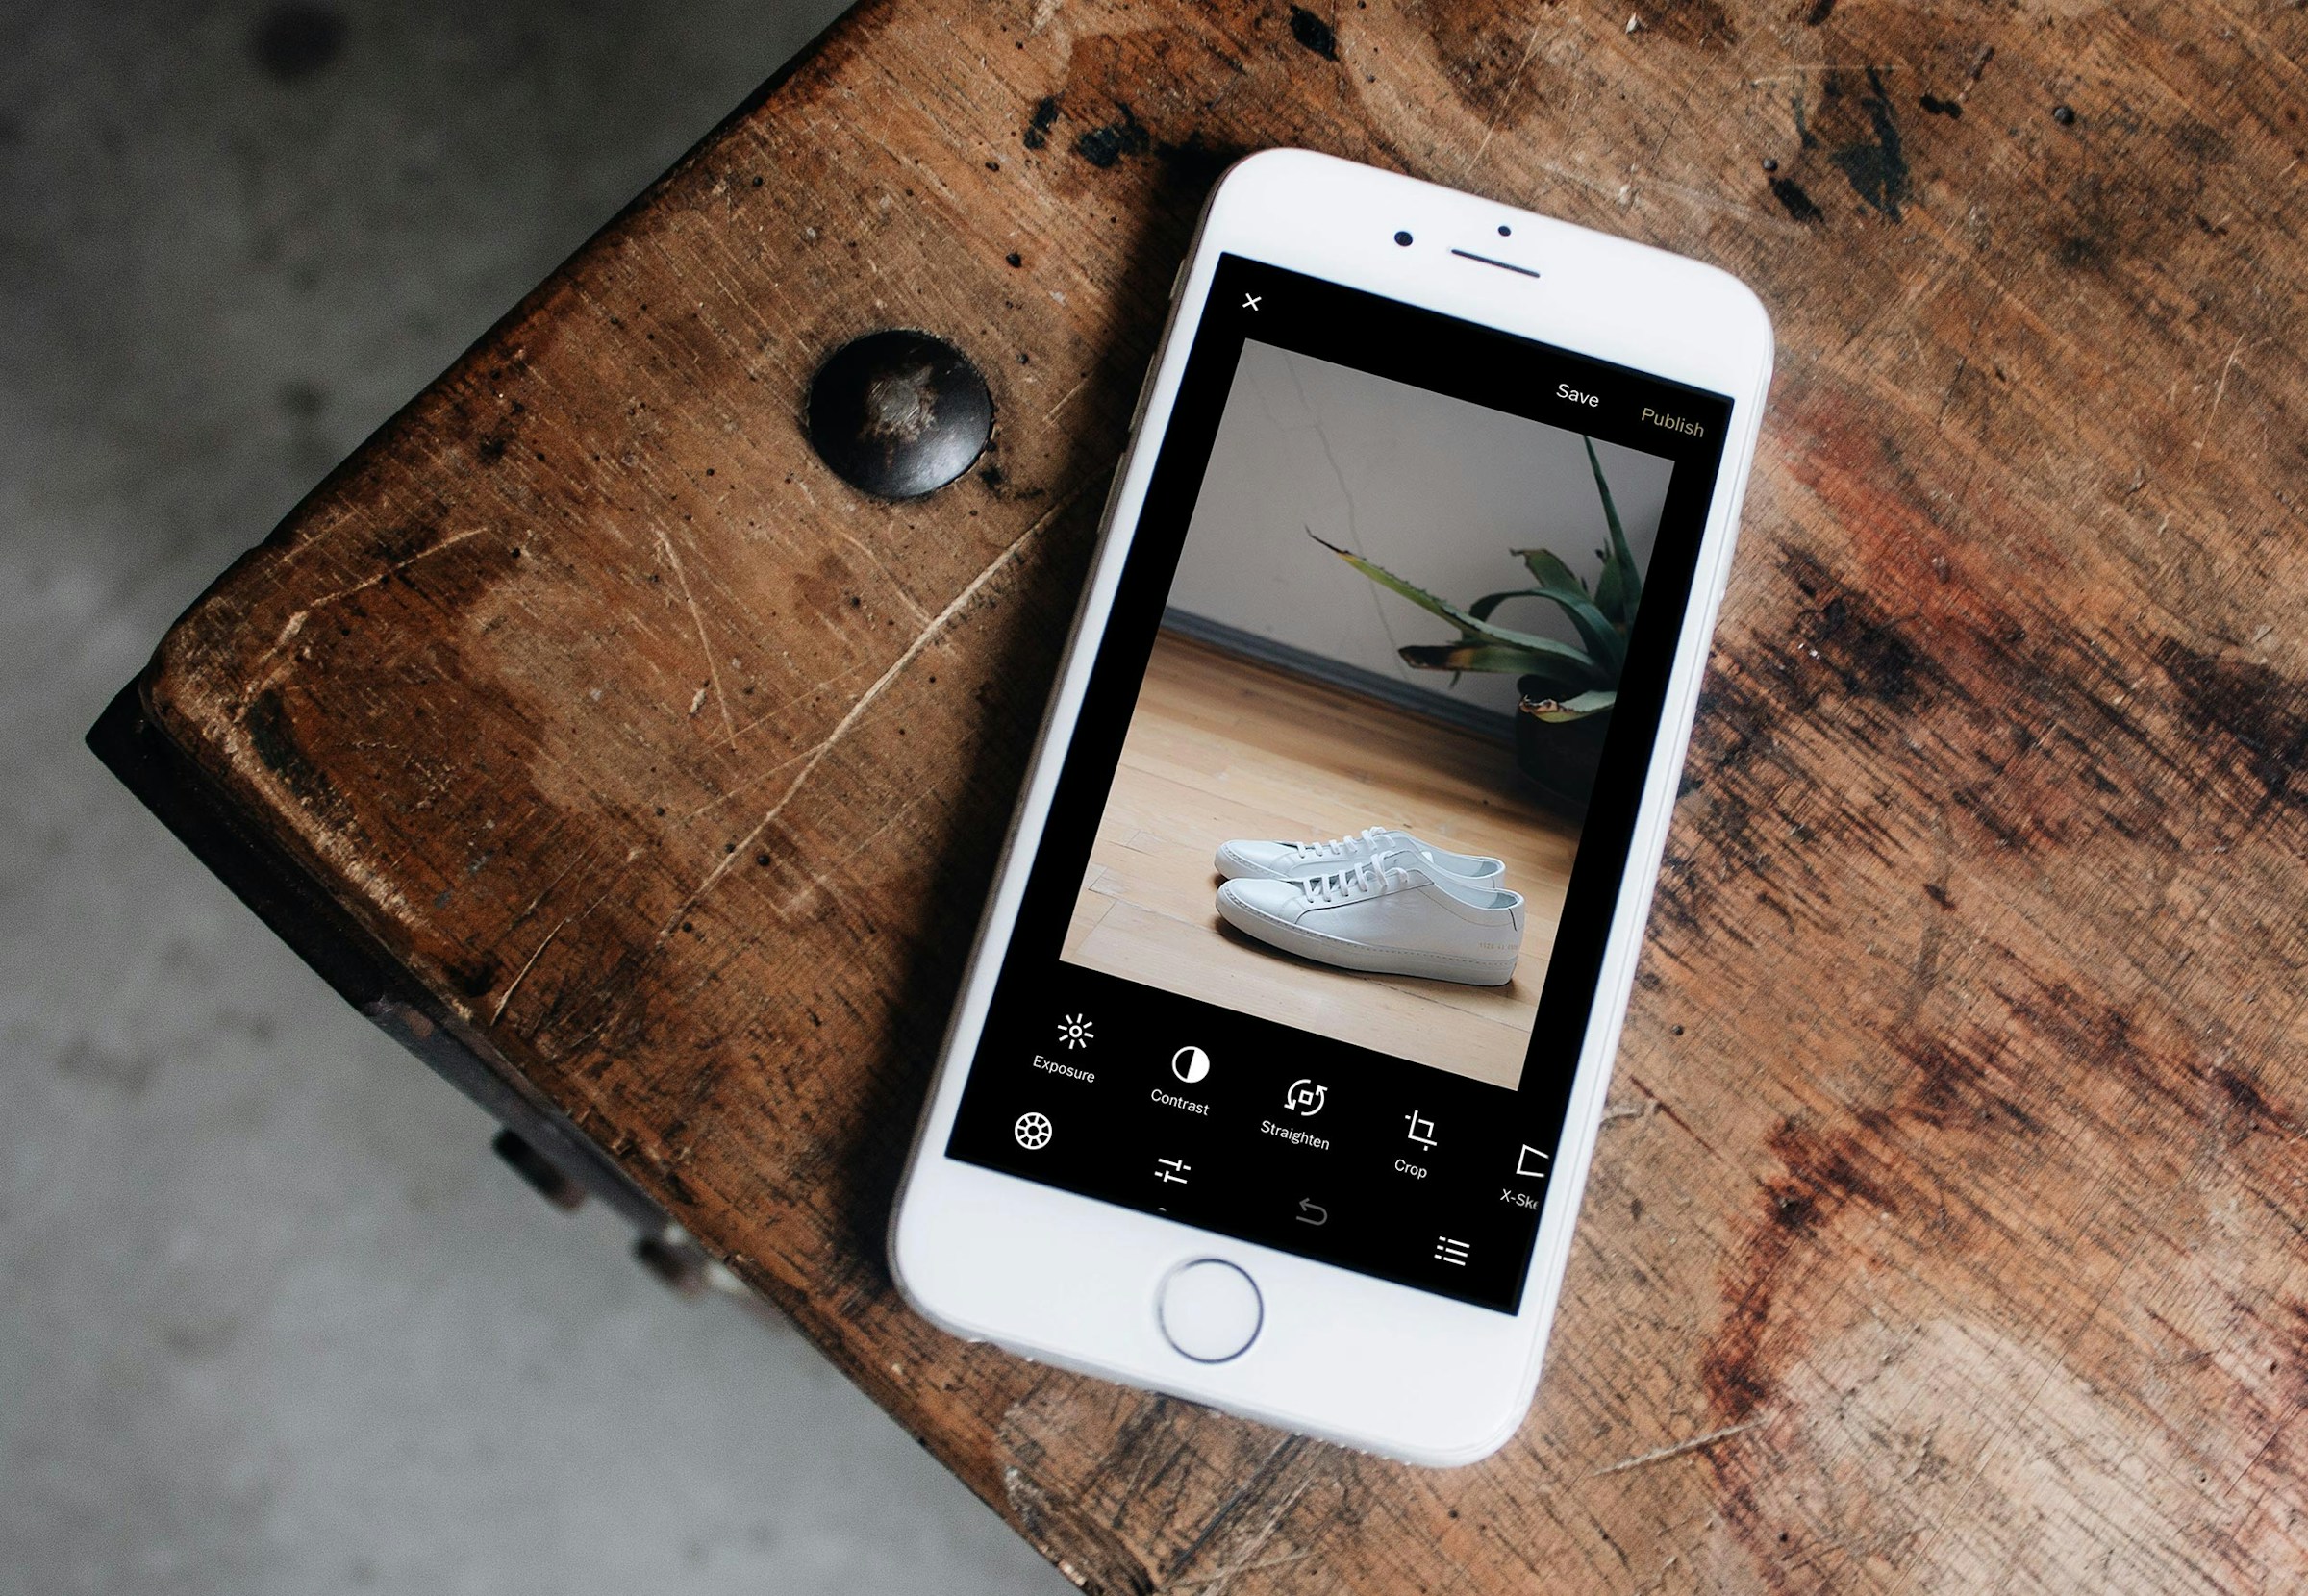
Editing your product photos is where the magic happens; this is where you refine the details to make your images truly shine. Let’s jump into these DIY editing basics and advanced techniques to take your product photos to the next level.
Cropping and Straightening
Start by ensuring your product is the center of attention. Crop out any unnecessary background or space to keep the focus on your item. Straighten your image if the horizon or angles look skewed, making your photo appear more professional and polished. Many tools, like Adobe Lightroom or essential smartphone apps, offer easy-to-use crop and alignment features.
Adjusting White Balance
White balance determines the overall color tone of your image. If your whites appear too blue, yellow, or green, your image may not look natural. Correcting the white balance ensures the colors in your photo are accurate and true to life. Most editing software has an “auto white balance” feature, but you can manually tweak the temperature and tint sliders for precision.
Tweaking Exposure and Contrast
Adjust the brightness (exposure) to ensure your product is well-lit but not overexposed. Then, increase the contrast slightly to make your product stand out by accentuating the difference between the lights and darks in the image. This simple adjustment can make your product pop and draw attention to its features.
Advanced Techniques for Product Photography Editing
Retouching
Retouching is all about perfection. Use tools like the healing brush or clone stamp in Photoshop or Lightroom to remove dust, blemishes, or minor imperfections from your product. Be subtle—over-editing can make your product look fake, which could erode trust with customers.
Color Correction
Go beyond white balance with comprehensive color correction. Adjust saturation, vibrance, and hue to ensure your product’s colors match what customers see. If your product has multiple colors, make sure each looks vibrant but natural. Create and apply a preset for consistency across multiple images.
Adding Shadows and Highlights
Shadows and highlights give your product photos depth and realism. Adding soft shadows can make a product appear grounded while enhancing highlights emphasizes texture and material. This technique works exceptionally well for reflective or three-dimensional products like glassware or apparel.
Saving and Optimizing Images for Product Photography
Choosing the Right File Format
The format you choose matters. JPEG is ideal for online use due to its balance of quality and small file size. If printing, opt for PNG or TIFF to maintain the highest quality. Permanently save a high-resolution copy for future use.
Optimizing for Web
A fast-loading website keeps visitors engaged, so optimize your images for the web by reducing their file size. Use tools like Adobe Photoshop’s “Save for Web” feature or free online compressors like TinyPNG. Aim for a balance between quality and file size—keeping your images under 200 KB is a good benchmark for most e-commerce sites.
Organizing Your Files
Keep your edited images accessible and well-organized. Use a consistent naming convention (e.g., “productname_version”) and store them in labeled folders, categorized by product or campaign. This will save you time when managing or uploading content. Editing is essential to product photography; you transform a raw image into an eye-catching masterpiece.
The key is balance: aim for clean, professional, and true-to-life visuals. You strive to create photos that accurately represent your products while making them as appealing as possible to your audience. With these editing basics and advanced tips in your toolkit, you’re well on your way to producing photos that impress and convert!
Related Reading
• Best Lens for Product Photography
• Product Photography Pricing
• Use AI for Product Photography
• Product Photography Tools
• Soona Alternatives
• AI Product Image Generator
• AI Product Photography
• AI Product Photos
• AI Photoshoot
Get AI Product Photos that Increase Your Sales for Free Today

AI product photography tools such as Caspa create hyper-realistic product images that can boost your sales by up to 200%. Instead of snapping pictures of your products or organizing a professional photoshoot, you can get custom images with Caspa in minutes.
